
Last updated November 15, 2026
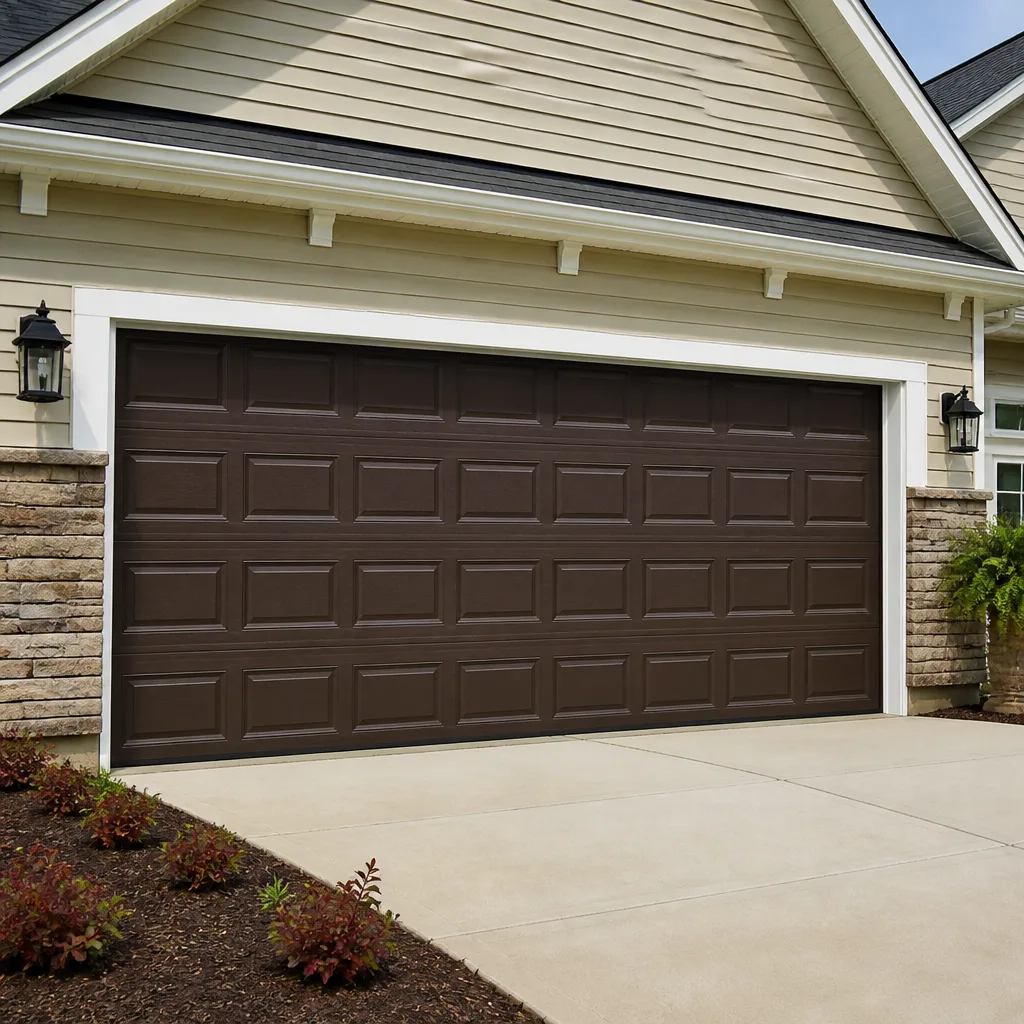 Raised-panel steel
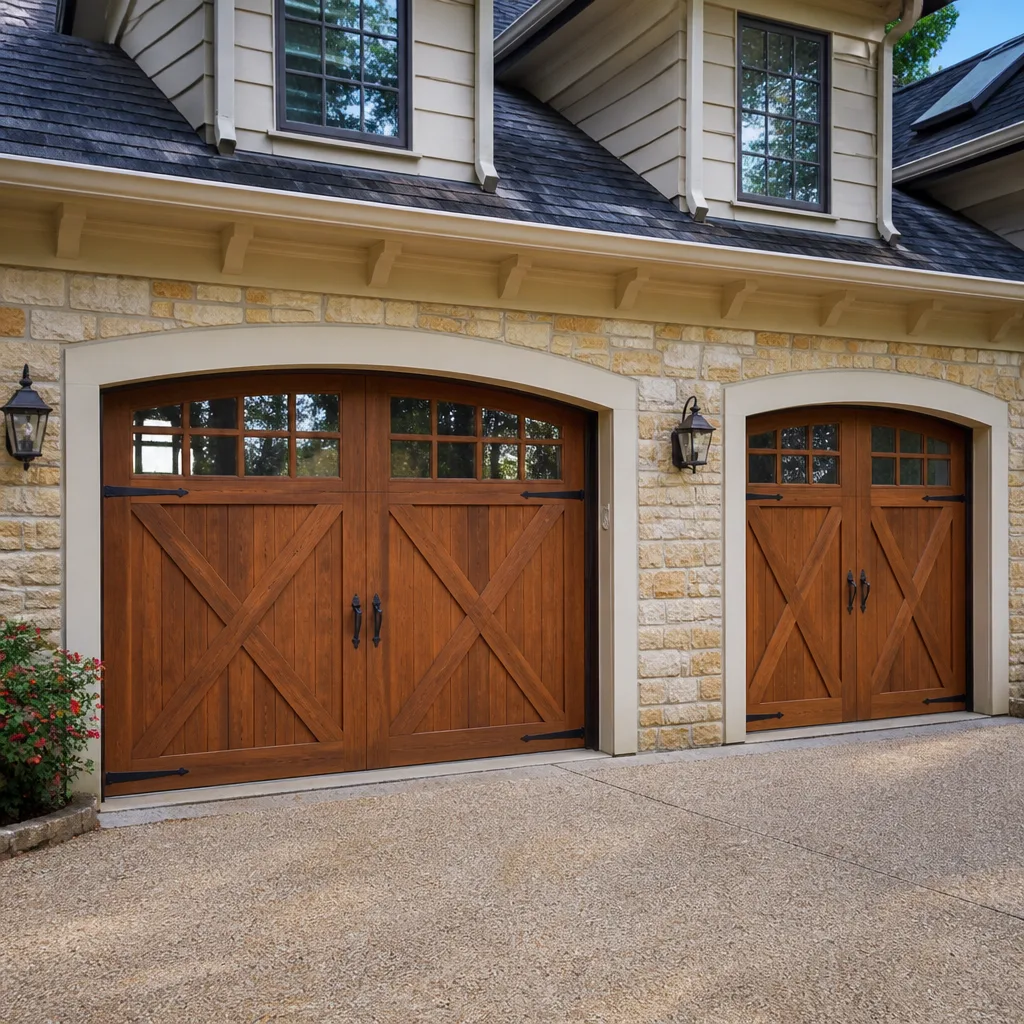 Carriage house
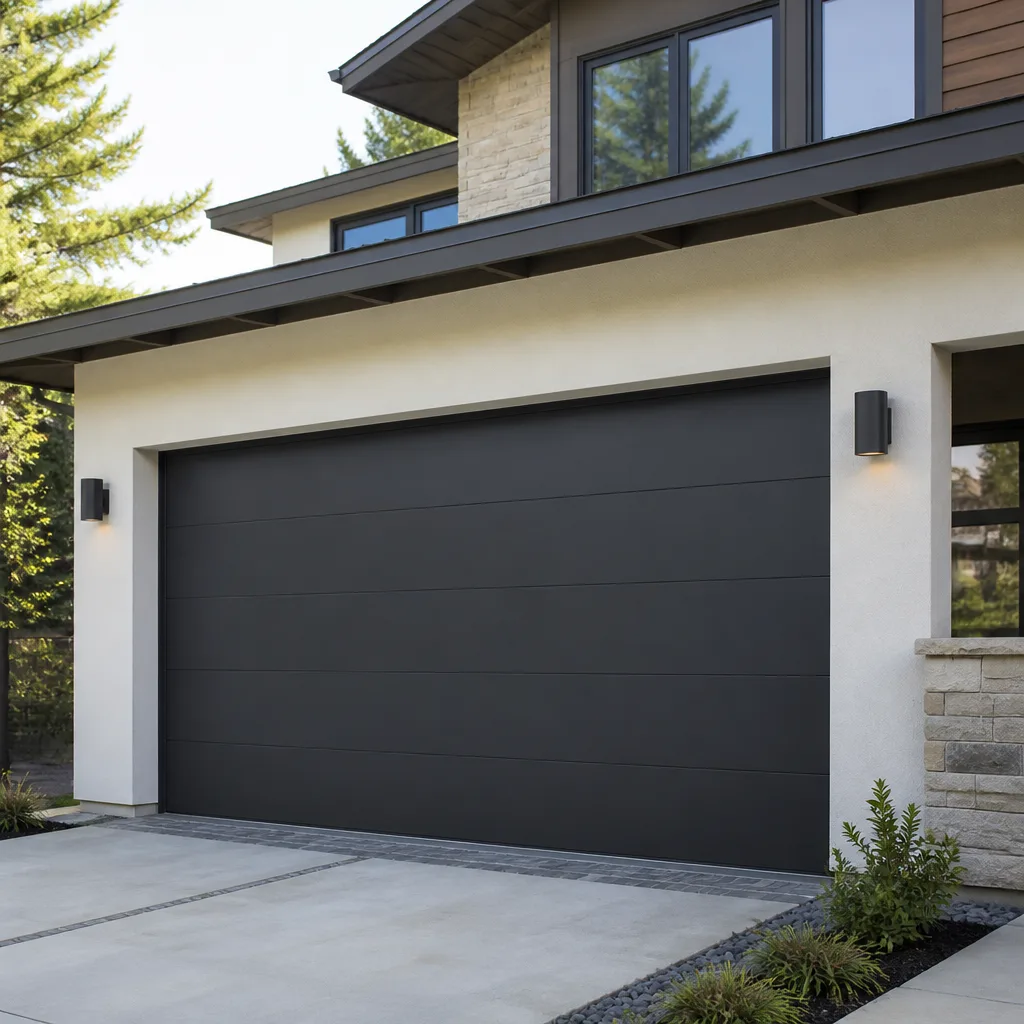 Modern flush
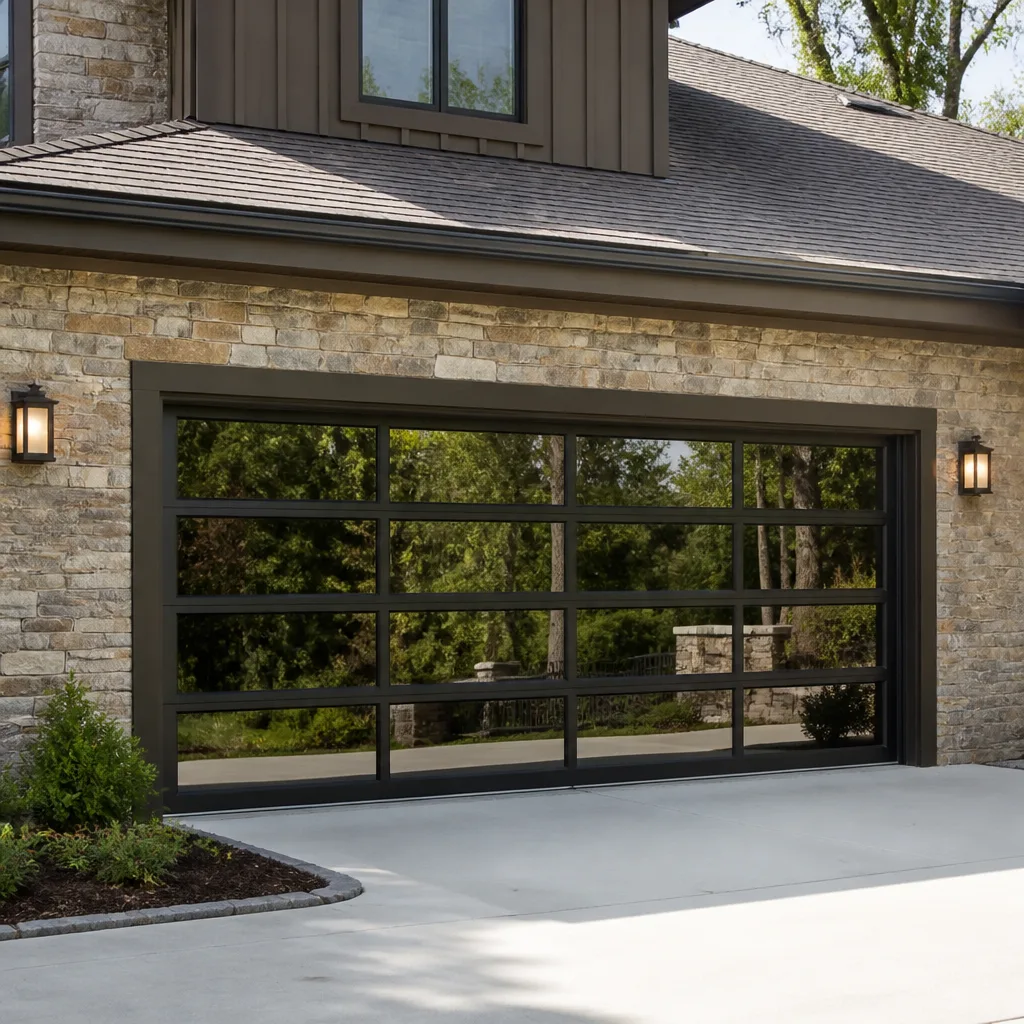 Full-view glass
 LiftMaster openers
 Chamberlain openers
Full 25-point door and opener safety check with every visit - springs, cables, rollers, tracks, and your LiftMaster or Chamberlain opener included
You get a price before we start. It does not change when the pro arrives.
Get your free estimateGarage Door Repair Troubleshooting in Chesapeake: Common Problems and How to Fix Them
Two garage doors can fail in ways that look completely unrelated and still share one cause. A door that reverses halfway down and a door that refuses to budge at all can both trace back to the same misaligned safety sensor, and homeowners who assume the second problem is a dead motor often replace parts they never needed. Most residential garage door failures fall into one of five mechanical patterns, and once you know which pattern your door is showing, the guesswork mostly disappears. This guide walks through those patterns, tells you which checks are safe to do yourself and which ones need a technician, and explains how to describe your problem in a way that gets you a faster, more accurate diagnosis. It’s written for the homes and climate here in Chesapeake.
Quick Answer
Garage door troubleshooting starts with matching the symptom to the system: a door that reverses before closing usually points to safety sensors, a door that won’t lift at all often points to a broken torsion spring or a dead opener, and a door that runs loud or slow usually points to worn rollers, dry hinges, or a track that’s out of alignment. Homeowners can safely check sensor alignment, test the manual release, and look for visible cable fraying, but spring, cable, and opener repairs need a trained technician. In Chesapeake, the humidity we live with most of the year accelerates track rust and cable wear, so those components deserve a closer look than they’d get in a drier climate.
Styles & brands we work with
- Raised-panel steel
- Carriage house
- Modern flush
- Full-view glass
- LiftMaster openers
- Chamberlain openers
Table of Contents
- The Five Failure Patterns Behind Almost Every Garage Door Problem
- Why Your Garage Door Won’t Open: Spring or Opener?
- Why Your Garage Door Reverses Before It Closes
- Loud, Slow, or Jerky Doors: What the Noise Is Telling You
- How Chesapeake’s Humidity Affects Tracks, Cables, and Rollers
- What You Can Safely Check Yourself (and What You Shouldn’t Touch)
- How to Describe the Problem When You Call
- What Repairs Typically Cost in Chesapeake
The Five Failure Patterns Behind Almost Every Garage Door Problem
When we troubleshoot a door, we’re really sorting the complaint into one of five buckets. Each bucket corresponds to a subsystem, and each subsystem has its own typical failure mode. Sorting the problem this way before anyone touches a tool is what separates a quick diagnosis from a process of elimination.
Here’s how the patterns line up:
- Spring and balance failures. The door feels impossibly heavy, won’t stay up when you lift it halfway, or you heard a loud bang from the garage. The torsion or extension springs carry the door’s weight, and when one breaks, the opener is fighting a load it was never designed to lift alone.
- Track and roller problems. The door binds, scrapes, or drifts sideways as it travels. Bent track, worn rollers, or a roller that’s popped out of its channel all cause this.
- Cable and drum failures. The door hangs lopsided, or you can see slack or fraying on one side. Cables are under extreme tension and are the single most dangerous component to touch.
- Opener and logic board issues. The door doesn’t respond to the remote, the wall button works but the remote doesn’t, or the motor hums without moving anything. This is electronics and motor-system territory, not mechanical.
- Safety sensor problems. The door starts down, reverses, and goes back up, often with the light blinking. The photo-eye sensors at the bottom of the tracks are misaligned, dirty, or blocked.
Most of the confusion we see in Chesapeake comes from overlapping patterns. A broken spring can trip the opener’s safety logic so the motor stops responding, making a mechanical failure look electrical. A dirty sensor can make a perfectly healthy door look like it has a mind of its own. Getting the pattern right first saves you from paying for the wrong repair.
Why Your Garage Door Won’t Open: Spring or Opener?
This is the most important distinction in garage door troubleshooting, and it’s also the one homeowners most often get wrong. A door that won’t open is a spring problem if the motor runs but the door doesn’t lift, or if the door feels extremely heavy when you try the manual release. It’s an opener problem if the door moves easily by hand but the motor doesn’t respond at all, or if the motor hums and clicks without engaging.
The quick test is the manual release. Every opener has a red pull cord that disconnects the door from the motor. With the door closed, pull the release and try lifting the door by hand about a foot off the ground. A properly balanced door should lift with moderate effort and stay put when you let go. If it feels like you’re lifting a small car, or if it crashes back down, the springs are the problem, not the opener.
Why does the misdiagnosis matter beyond a wasted service call? Because a broken spring puts the entire door weight on the opener’s drive system. Running the motor against a door it can’t lift can strip the drive gear, burn out the motor, or, in the worst case, cause the door to come down uncontrolled. That’s a safety issue, not just a money issue. If you suspect a spring, stop operating the door and call for garage door repair rather than cycling it repeatedly to “see if it works this time.”
On the opener side, the culprit is often simpler than it seems. A remote that stopped working might just need a battery or a re-pairing, and a wall button that works while the remote doesn’t is a strong sign the opener itself is fine. We work on LiftMaster and Chamberlain systems constantly, and their diagnostic LED codes (the small light on the back of the motor) usually tell you exactly what’s wrong if you know how to read them.
Why Your Garage Door Reverses Before It Closes
A door that closes partway and then reverses is almost always telling you about its safety sensors. The two photo-eye sensors sit about six inches off the floor on either side of the door opening, and they send an invisible beam across the threshold. If something breaks that beam (a misaligned sensor, a cobweb, a leaf, or a sensor that’s been bumped), the door reverses by design. It’s not broken. It’s doing its job.
Here’s the sequence we recommend for narrowing it down:
- Look at the two sensors and check that each one has a small indicator light on. Most systems show a solid light when aligned and a blinking or dark light when the beam is interrupted.
- Wipe both lenses with a dry cloth. In humid months here, dust and pollen film builds up fast on the sensor faces.
- Gently nudge each sensor until its light comes on solid. The brackets can shift from a bump, a kid’s basketball, or a weed trimmer.
- Check that nothing is hanging in the beam path, including a sagging garage door seal or a stored item near the floor.
- Test the door. If it still reverses with both lights solid, the problem is likely in the opener’s travel limits or force settings, which is a technician adjustment.
If the sensors are clean, aligned, and lit and the door still reverses, don’t keep raising the force setting to force it closed. That setting exists to protect people and property, and overriding it masks the real problem. Occasionally the reversing is caused by a binding track or a door that’s out of balance, and the opener is interpreting the resistance as an obstruction. In that case the sensors are innocent, and the fix is mechanical. Proper garage door opener repair includes checking the door’s balance and travel, not just the electronics.
Loud, Slow, or Jerky Doors: What the Noise Is Telling You
A garage door that’s gotten louder isn’t just annoying. Noise is one of the earliest and most reliable indicators of wear, and the type of noise points to the specific component. In our experience, catching these early is the difference between a small adjustment and a bigger repair.
- Screeching or squealing. Usually dry hinges, rollers, or the torsion spring coil. Metal-on-metal contact with no lubrication.
- Grinding or scraping. Often a roller that’s seized or a track that’s bent or dirty. If it grinds only on one side, suspect that side’s track or cable.
- Rattling or banging. Loose hardware, a worn hinge, or a door panel that’s come loose from its hinge. Sometimes a roller stem has worked its way out of the track.
- Popping or snapping. This one deserves immediate attention. A popping sound can indicate a cable starting to slip off its drum or a spring about to fail.
- A door that moves in fits and starts. Often a sign of a binding track, an unbalanced door, or an opener whose force settings are too low for the door’s actual weight.
Some of this is routine maintenance: lubricating hinges, rollers, and springs with a proper garage door lubricant quiets a lot of noise and extends component life. But grinding and popping shouldn’t be lubricated away and forgotten. Those point to worn parts that will fail. If your door has gotten noticeably louder over the past few months, that’s worth a look before something breaks.
How Chesapeake’s Humidity Affects Tracks, Cables, and Rollers
Chesapeake sits in a humid, subtropical climate, and that shapes how garage door components wear here compared to drier parts of the country. The humidity doesn’t cause failures on its own, but it accelerates the wear that leads to them, and it does so unevenly across the door’s parts.
Tracks rust first. The steel tracks that guide your rollers are usually galvanized or painted, and in a humid garage, that coating takes a beating. You’ll often see surface rust forming along the bottom of the track and near the floor, where moisture collects. Rust makes the track surface rougher, which increases friction, which makes the door work harder and run louder. Left alone, a rusty track can bind a roller or throw the door out of alignment.
Cables fray faster. Garage door cables are braided steel under heavy tension, and humidity encourages corrosion between the strands. Fraying often starts where you can’t easily see it, inside the drum or near the bottom bracket, but a visual check along the visible length can reveal the fuzzy, broken-strand look that means a cable needs replacement. Corroded cables are weaker cables, and a cable failure is a serious safety event.
Rollers and hinges wear unevenly. Nylon rollers handle humidity better than steel ones, and if your door has steel rollers, they’re more likely to seize and start grinding. Hinges and bearings also benefit from regular lubrication in this climate, and we generally recommend a lubrication pass a couple times a year here rather than the once-a-year that’s often enough in drier regions.
If you’re in Great Bridge, Western Branch, or Deep Creek and your door has started running louder or binding, humidity is a likely contributor, especially if the door faces the afternoon sun or the garage stays closed most of the day. A Chesapeake homeowner’s best defense is a periodic visual inspection of the tracks and cables, plus lubrication on a schedule.
What You Can Safely Check Yourself (and What You Shouldn’t Touch)
We’d rather you know exactly where the line is than guess. Some troubleshooting is genuinely homeowner-friendly and saves you a service call. Other parts of a garage door can maim or kill, and no video is a substitute for training and proper tools.
Safe for you to check:
- Safety sensor alignment and cleanliness. Wiping the lenses and nudging the sensors until their lights come on solid is completely safe.
- The manual release. Pulling the red cord to disconnect the door from the opener is part of normal operation. Just be aware the door becomes heavy if the springs are compromised.
- Visual cable inspection. Looking at the cables (without touching them under tension) for fraying, slack, or rust is fine. Don’t put your hand near a cable that’s under load.
- Remote and wall button testing. Swapping remote batteries, checking the wall button, and trying a fresh remote are all safe and useful diagnostics.
- Visual track inspection. Looking for dents, rust, or debris in the tracks is safe. Straightening a bent track is not.
Leave to a trained technician:
- Torsion and extension springs. These store enormous energy and can release it violently if handled incorrectly. Never adjust, remove, or wind a spring yourself.
- Cables, drums, and bottom brackets. Cables are under extreme tension, and the bottom bracket can snap loose with enough force to cause serious injury.
- Track straightening and realignment. A door that comes off its track can fall. This is a two-person job with proper tools and bracing.
- Opener force and travel limit adjustments. These settings are the door’s safety envelope. Getting them wrong causes the door to reverse incorrectly or fail to reverse when it should.
- Electrical work at the opener or panel. Any wiring change belongs with a qualified technician.
As a rule: if the fix involves releasing tension, lifting the door’s weight, or climbing a ladder to work overhead, it’s a technician’s job. Everything else on the list above is yours to check with confidence.
How to Describe the Problem When You Call
The way you describe a problem on the phone directly affects how fast and how accurately we can diagnose it. Vague descriptions (“it’s broken”) mean the technician has to arrive with a full spread of possibilities, while specific descriptions mean they can bring the right parts and get to work immediately. Here’s the language that helps most.
Instead of “my door won’t open,” say:
- “The motor runs but the door doesn’t move at all, and the door feels very heavy when I release it.” (Spring pattern.)
- “The door moves easily by hand but the motor won’t respond to the remote or the wall button.” (Opener pattern.)
- “The door starts to open, goes up a few inches, and stops.” (Possible travel limit or binding.)
Instead of “my door won’t close,” say:
- “The door comes down about a foot and reverses, and I checked the sensors and both lights are solid.” (Settings or balance issue.)
- “The door reverses and one sensor has no light.” (Sensor alignment.)
Instead of “it’s making noise,” say:
- “There’s a grinding sound on the left side as the door goes down.” (Roller or track on that side.)
- “There was a loud bang from the garage and now the door won’t lift.” (Broken spring.)
Helpful extras to have ready: the brand and model of your opener (if you know it), whether your door has one or two springs, roughly how old the door and opener are, and whether the door is a sectional or one-piece style. If you have a LiftMaster or Craftsman opener, mention that specifically. Knowing the brand upfront helps whoever you call show up familiar with your system.
Also mention where you’re located in Chesapeake and what the door is doing right now. If the door is stuck open, that’s a different urgency than a door stuck closed, and it changes how quickly you need someone out.
What Repairs Typically Cost in Chesapeake
Costs depend on the specific repair, the parts, and the door’s condition, so we always quote per job. Still, most homeowners want a rough sense before they pick up the phone, so here are typical ranges for the repairs we see. Every price is confirmed by a written estimate before any work starts.
| Repair | Typical Estimated Range |
|---|---|
| Safety sensor adjustment or replacement | $90 – $200 |
| Lubrication, tune-up, and hinge/roller replacement | $120 – $250 |
| Track straightening or realignment | $150 – $300 |
| Torsion spring replacement (single spring) | $180 – $340 |
| Extension spring replacement (per pair) | $150 – $300 |
| Cable replacement (per side) | $120 – $250 |
| Opener repair (motor, logic board, or gear) | $150 – $400 |
| Full opener replacement (unit and installation) | $300 – $650 |
Note that a torsion spring price above is for a single spring. Most doors use a matched pair, and since matched springs wear together, they’re usually replaced together, so a pair costs roughly twice a single spring. A door with one broken spring of a pair and one intact will typically need both replaced, because the intact one has the same wear and will fail soon after.
The written estimate is the price, period. We quote before we start and we don’t add charges once the work is in progress. If something unexpected turns up, we stop and talk to you first.
Common Mistakes to Avoid
- Raising the opener’s force setting to force a reversing door closed. This setting protects people and property. Overriding it to close a binding door can cause the door to come down on something or someone it shouldn’t. When a door reverses, find the cause rather than turning up the force.
- Assuming a dead door means a dead opener. A broken spring can make a working motor appear completely dead. Test the manual release and the door’s weight before assuming the opener needs replacing.
- Letting a rusty track go. In Chesapeake’s humidity, surface rust on the tracks is common and easy to ignore, but it roughens the track, binds rollers, and shortens the door’s life. Check the tracks a couple times a year, especially near the floor.
- Lubricating with the wrong product. WD-40 is a penetrant, not a lubricant, and it can attract dust and gum up rollers and hinges. Use a proper garage door lubricant made for the job.
- Replacing one spring of a matched pair. Springs wear together. Replacing one leaves an unbalanced door and a second spring that fails soon after, so you pay twice for a job that’s usually done once.
- Ignoring a popping or snapping sound. That noise usually means a cable is slipping or a spring is about to fail, and neither is worth waiting out. Address it before the door comes down unexpectedly.
- Calling a general handyman for a specialty repair. Garage doors, openers, and their safety systems are a specific trade. A generalist may not have the tools, parts, or training for the brand of door or opener you actually own, and the result is often a second visit and a bigger bill.
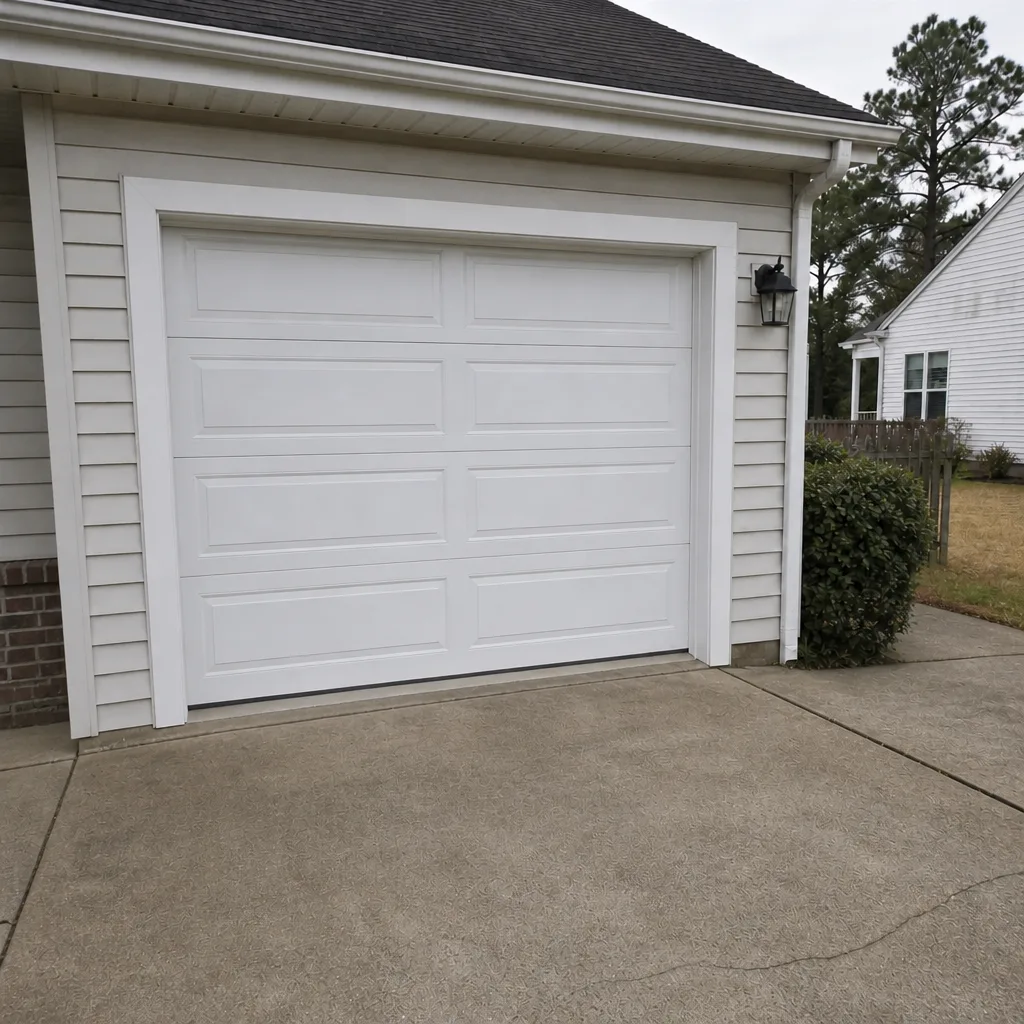
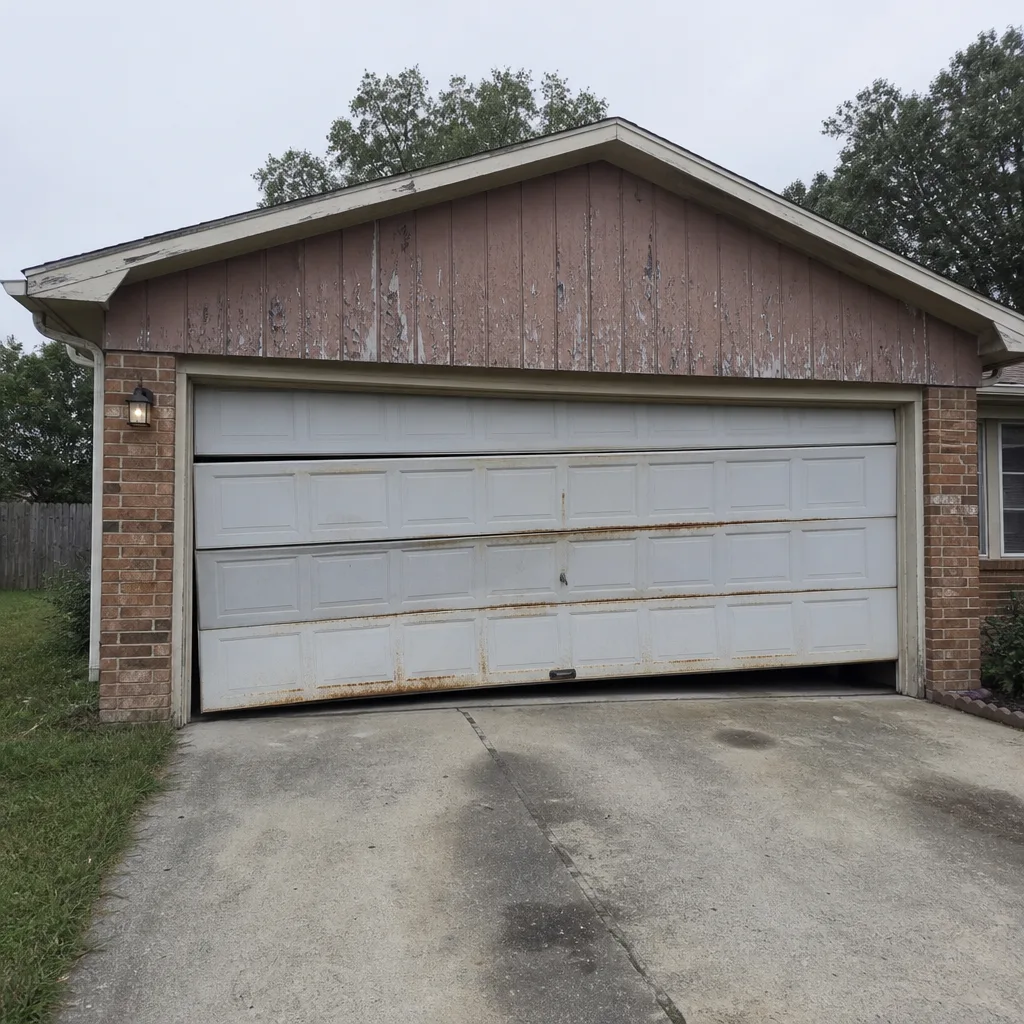
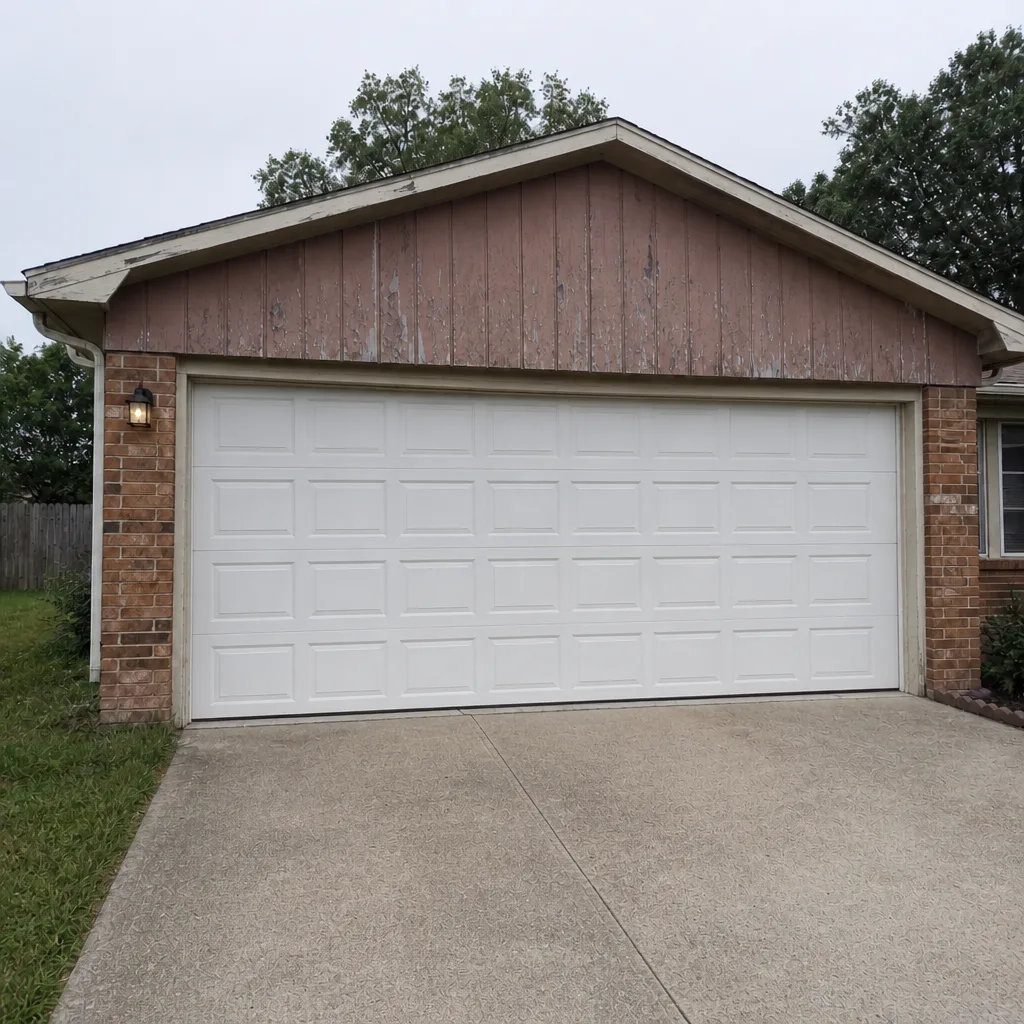
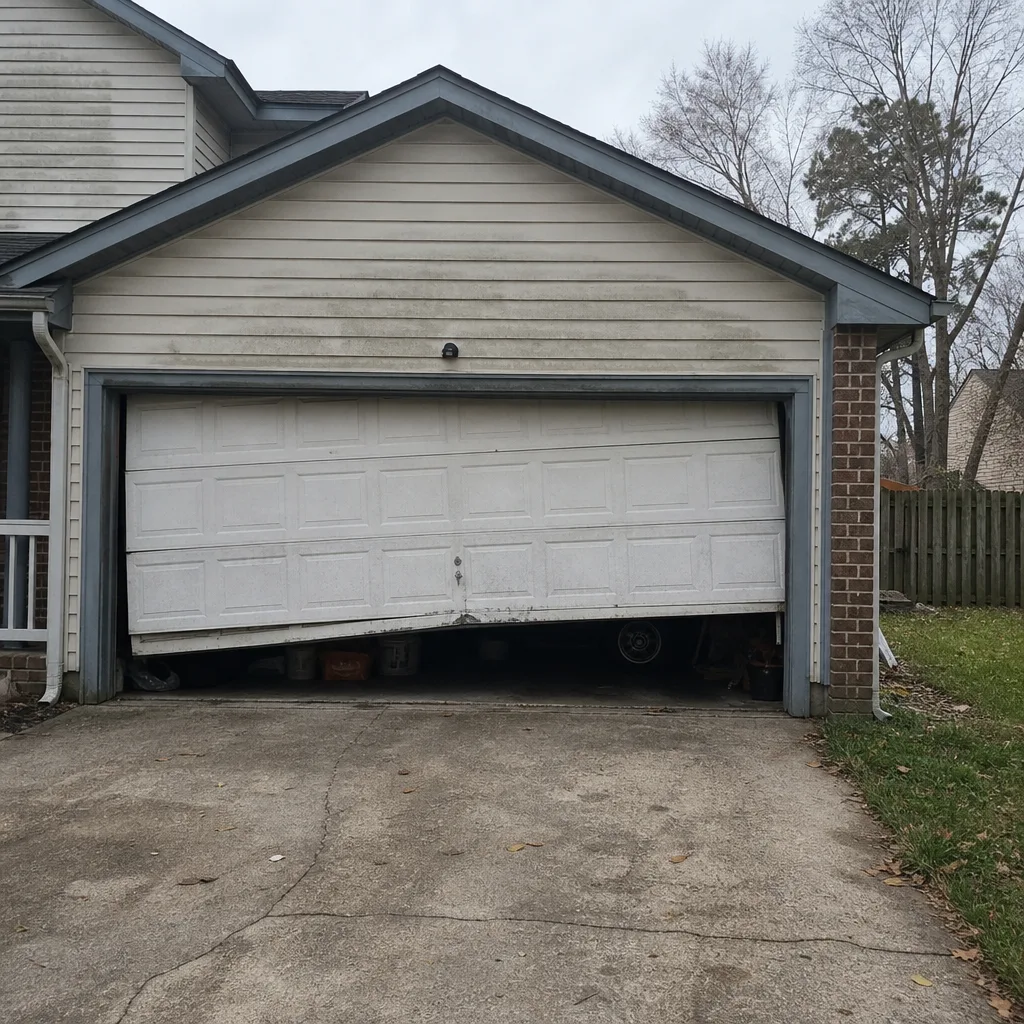
See the difference
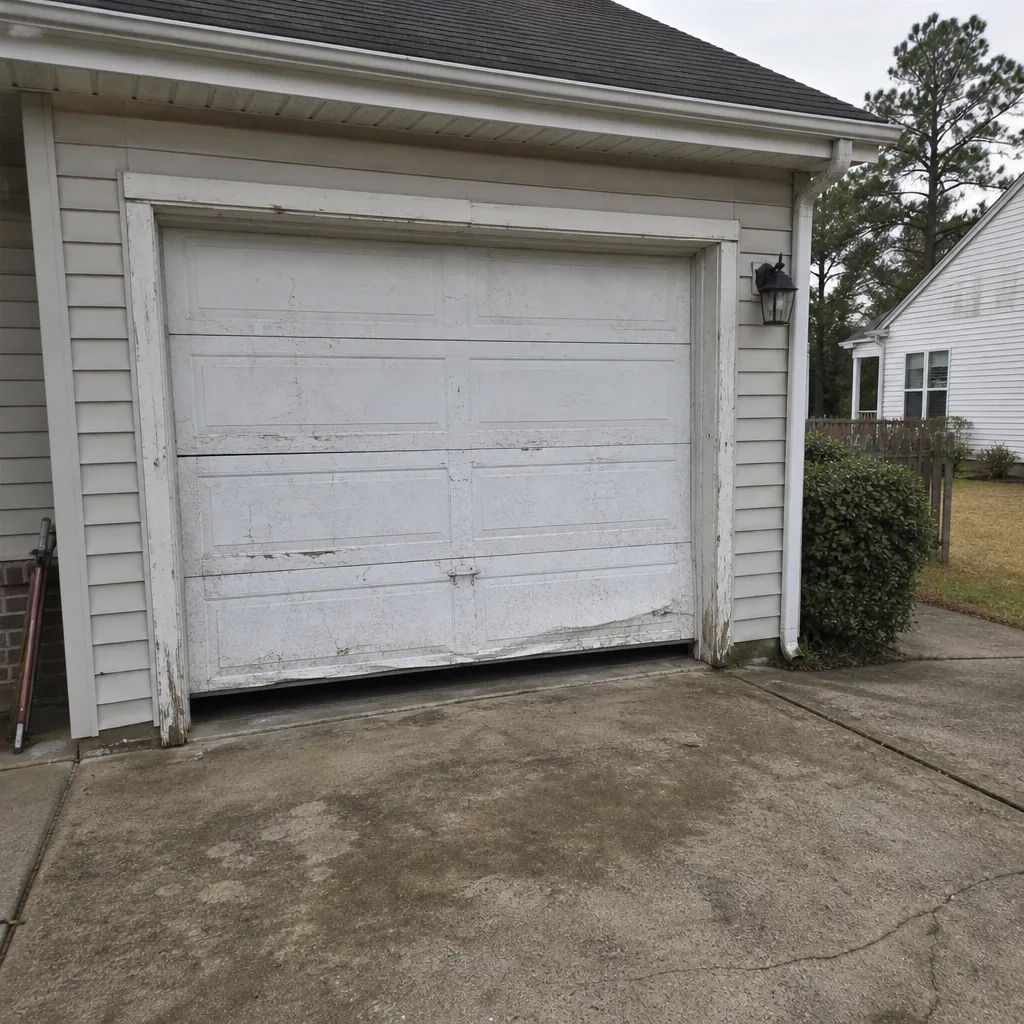 Before
 After
 Before
 After
 Before
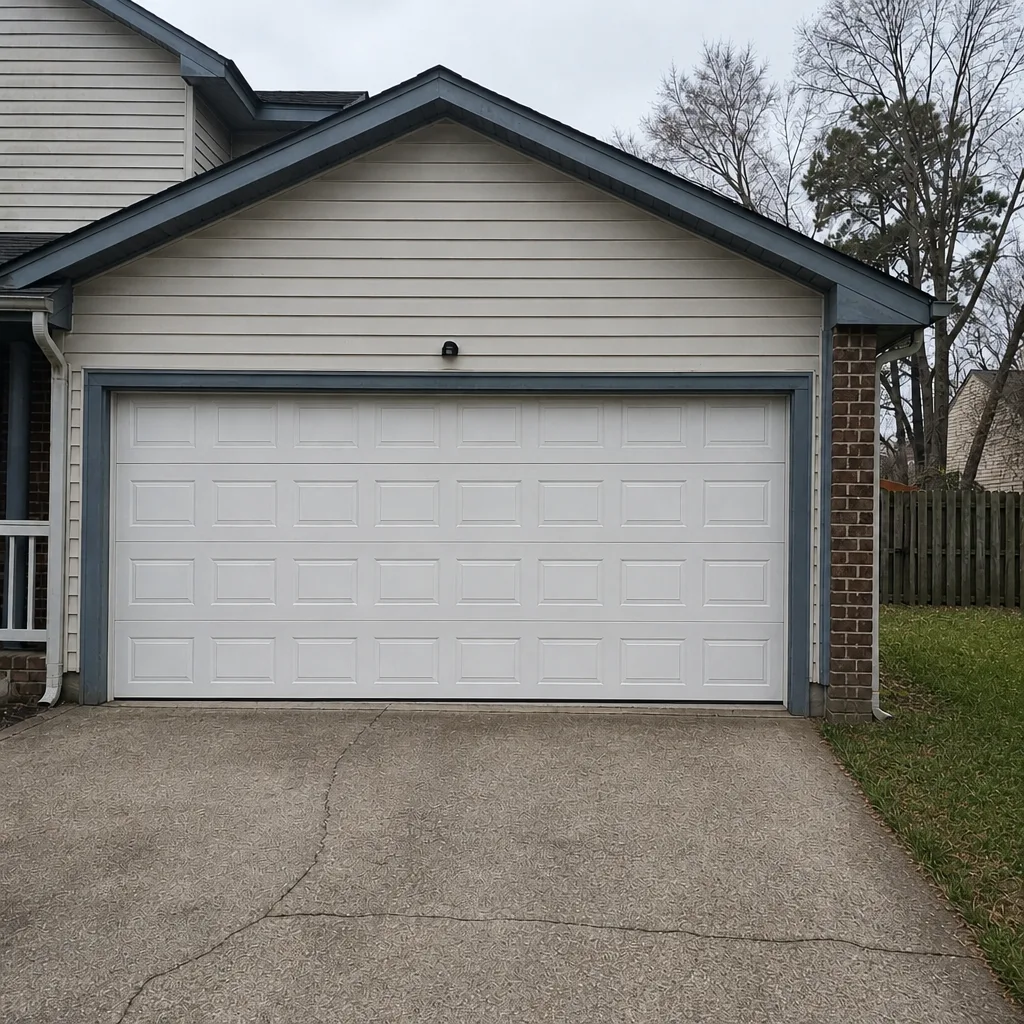 After
When to Call a Professional
Call a technician when the fix involves touching a spring, cable, drum, or bottom bracket, when the door is off its track, when the opener’s force or travel settings need adjusting, or when you’ve checked the easy things (sensors, manual release, visual cable inspection, remote batteries) and the door still won’t work right. Call right away if the door is stuck open in a way that leaves your home unsecured, if you heard a loud bang or popping sound, or if the door feels dangerously heavy or is hanging lopsided. If you’re not sure, that’s what the phone is for. Highpoint Garage Door Service offers free estimates in Chesapeake – call (877) 309-4107. We answer 24/7. Fast dispatch from 7am to 7pm, Sunday through Friday.
Frequently Asked Questions
The most likely cause is a safety sensor problem: the photo-eye sensors at the bottom of the tracks are misaligned, dirty, or blocked by an object, so the door reverses by design instead of closing. Clean both lenses, nudge each sensor until its indicator light is solid, and check that nothing hangs in the beam path. If both lights are solid and the door still reverses, the issue is in the opener’s travel or force settings, and a technician can adjust it. Call (877) 309-4107 for an exact quote if you’d rather have it checked – estimates are free.
Torsion spring replacement in Chesapeake typically costs $180 to $340 for a single spring, and extension spring pairs usually run $150 to $300. Most doors use a matched pair of torsion springs, and because they wear together, a pair costs about twice a single spring. The written estimate you get before work begins is the price. Call (877) 309-4107 for an exact quote – estimates are free.
No. Garage door springs store enormous energy, and a spring that releases unexpectedly can cause serious injury or death. There’s no safe homeowner method for winding, releasing, or replacing a torsion or extension spring with basic tools. This is one of the few garage door tasks that should always go to a trained technician. If you suspect a broken spring, stop operating the door and call (877) 309-4107.
Often not. If the motor runs but the door doesn’t lift, the most common cause is a broken spring or a door that’s come out of balance, which leaves the opener trying to lift a door it can’t move. Test the door by hand using the manual release: if it feels very heavy, the springs need attention, not the opener. If the door moves easily by hand and the motor still won’t engage, the opener is the likely culprit. Call (877) 309-4107 for an exact quote – estimates are free.
Humidity doesn’t cause failures directly, but it accelerates wear that leads to them. In Chesapeake’s humid climate, steel tracks rust faster, cables corrode and fray sooner, and steel rollers are more likely to seize than in drier regions. A visual inspection of the tracks and cables a couple times a year, plus lubrication every few months, goes a long way toward preventing surprise breakdowns.
The manual release is the fastest test. Pull the red release cord with the door closed, then try lifting the door by hand. If it lifts easily and stays put, the door is balanced and the opener is the likely problem. If it feels extremely heavy or crashes back down, the springs or cables are the issue, and the opener is fine. Either way, describing that result on the phone gets you a faster, more accurate diagnosis. Call (877) 309-4107 for an exact quote – estimates are free.
The Bottom Line
Garage door troubleshooting comes down to matching the symptom to the system. Reversing doors usually point to safety sensors, doors that won’t lift usually point to springs or openers, and loud or jerky doors usually point to worn rollers, tracks, or hinges. The spring-versus-opener distinction is the one that matters most for both your wallet and your safety. You can safely check sensors, test the manual release, and visually inspect cables and tracks; spring, cable, and opener adjustments belong with a trained technician. In Chesapeake’s climate, rust and corrosion accelerate wear on tracks and cables, so check them regularly and lubricate a few times a year. When the fix is beyond the safe checks, call a specialist. Highpoint Garage Door Service works on all the common brands, including LiftMaster, Chamberlain, Craftsman, and Raynor, and offers free estimates in Chesapeake – call (877) 309-4107. We answer 24/7. Fast dispatch from 7am to 7pm, Sunday through Friday.
Written by the team at Highpoint Garage Door Service.