
Last updated November 15, 2026
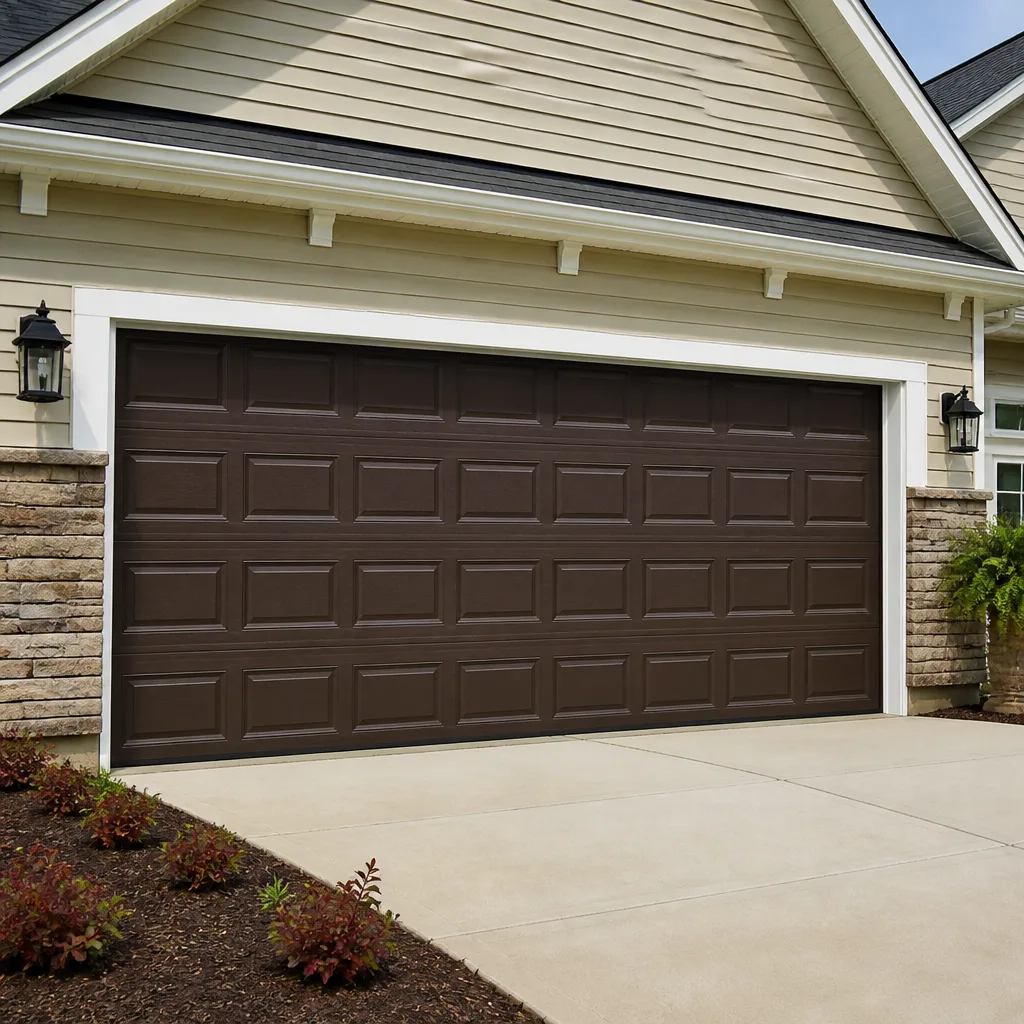 Raised-panel steel
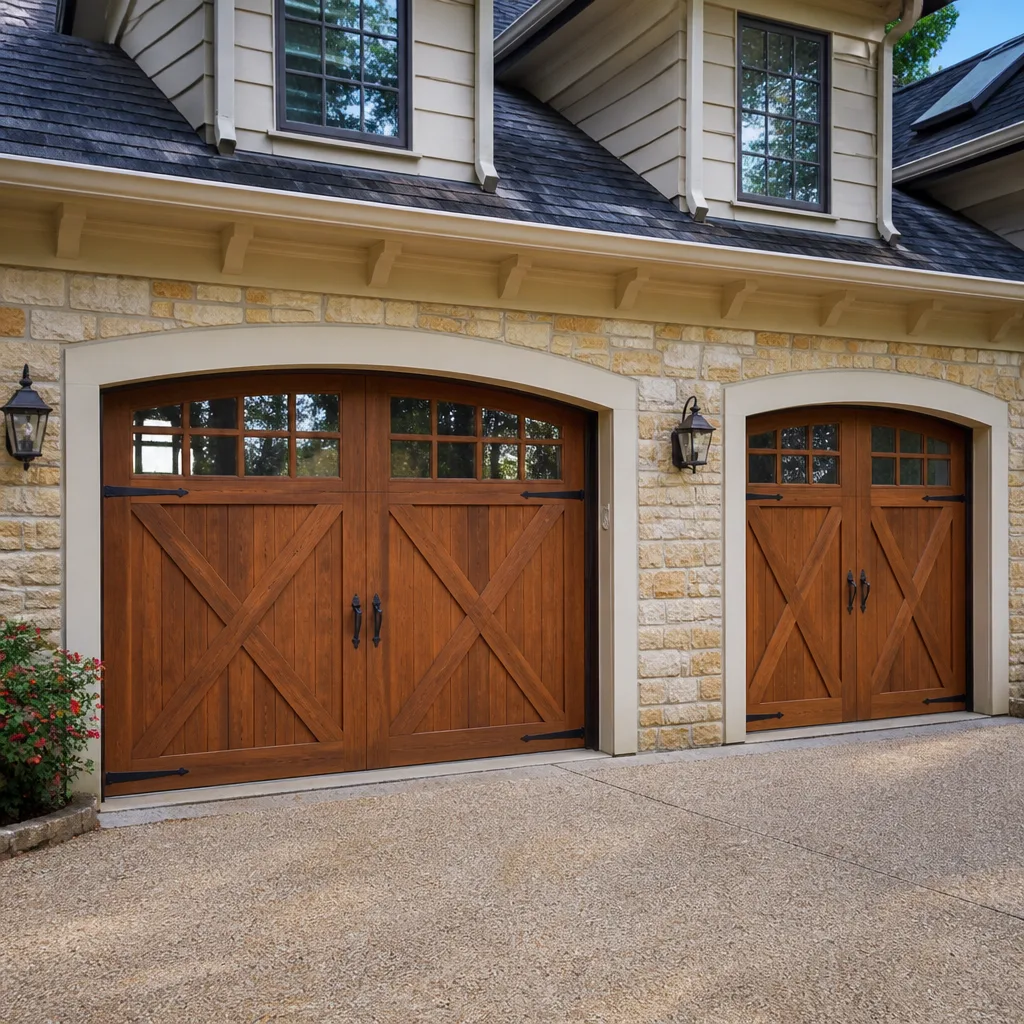 Carriage house
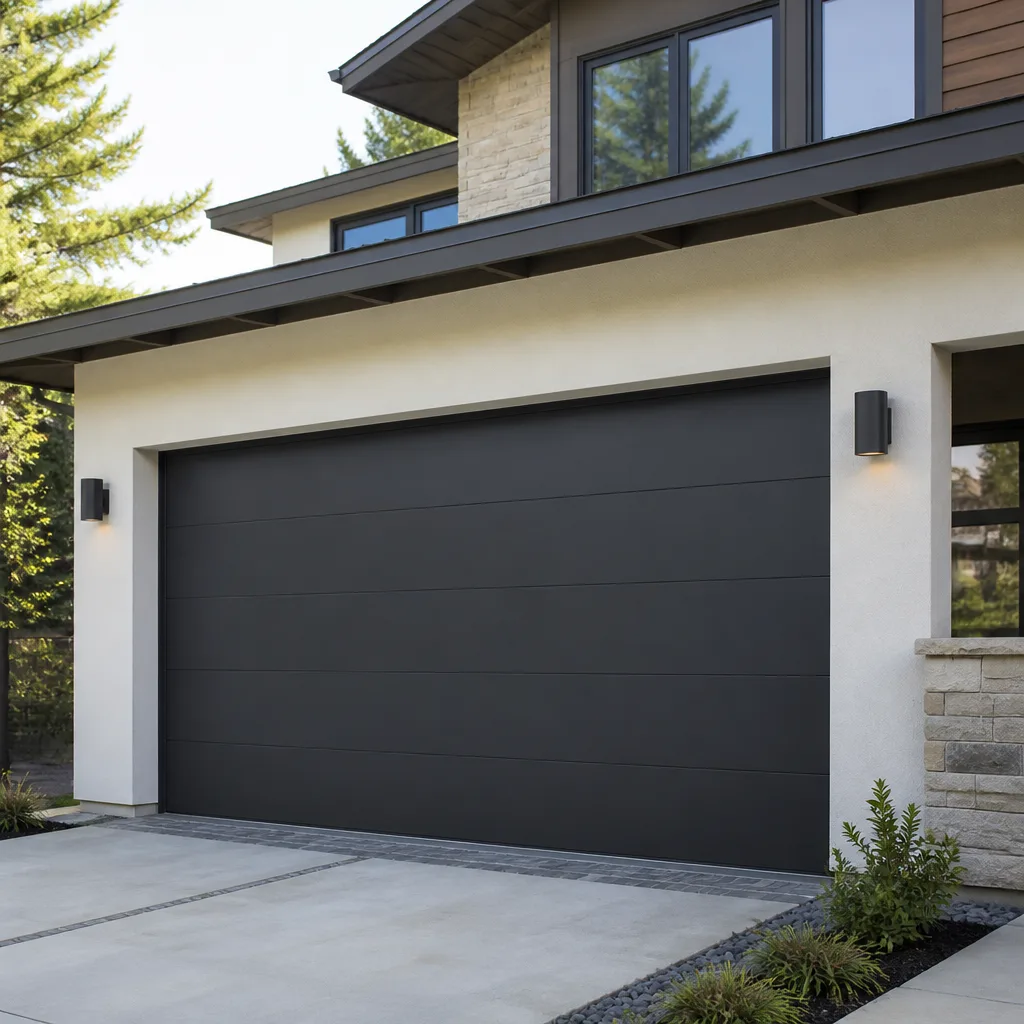 Modern flush
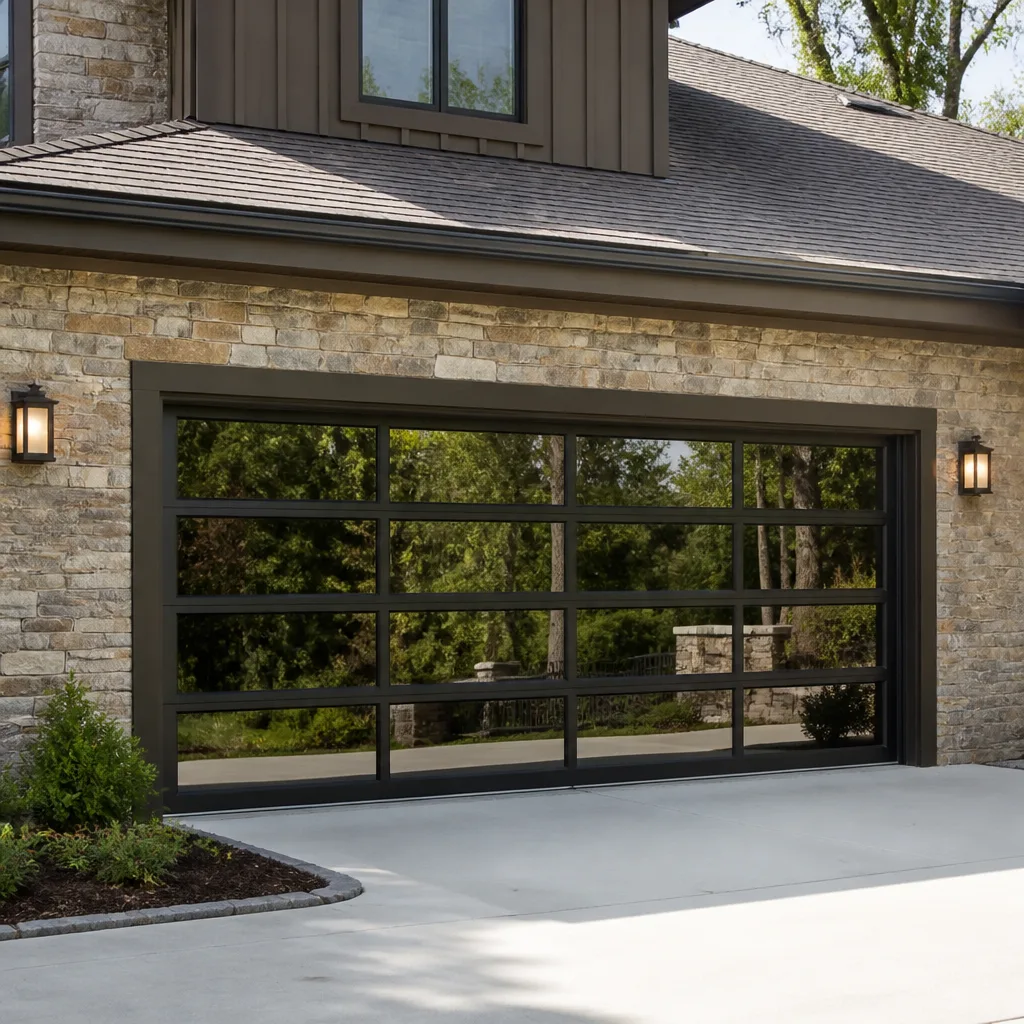 Full-view glass
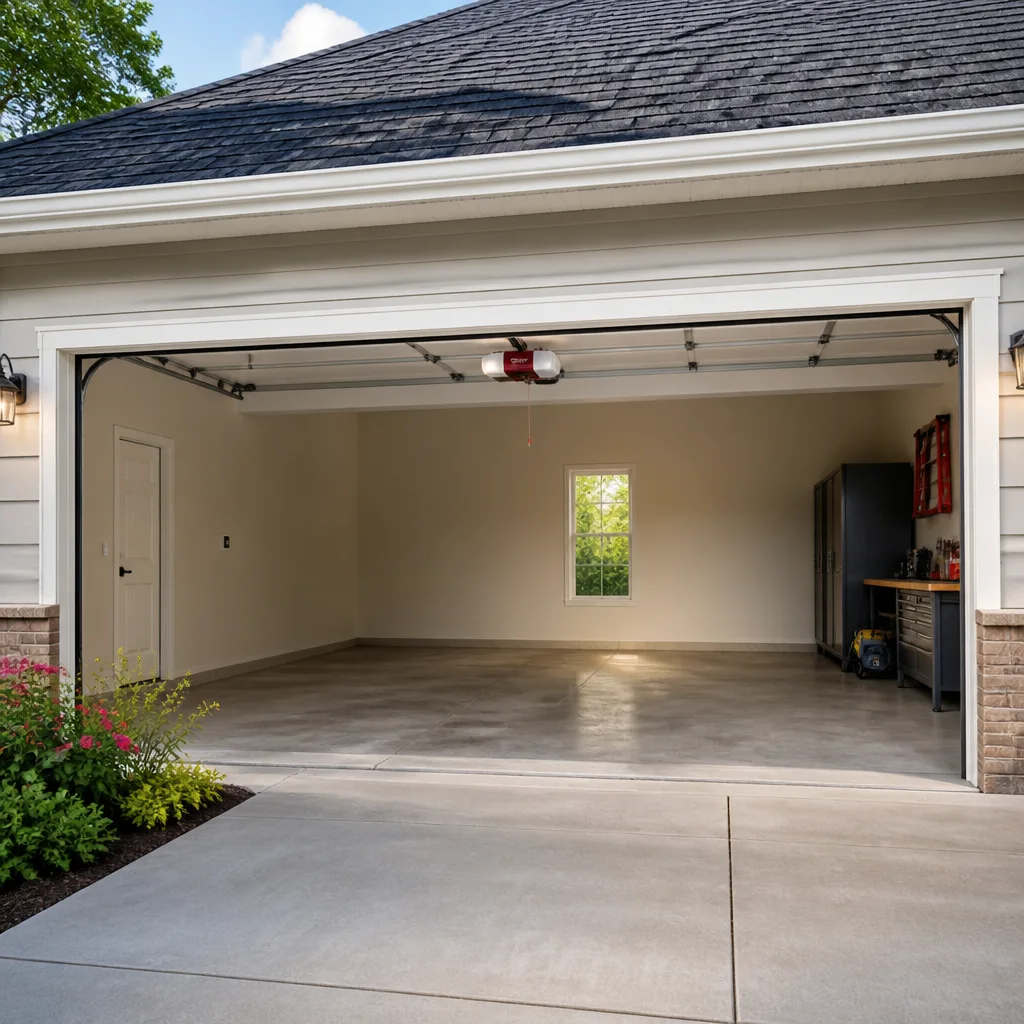 LiftMaster openers
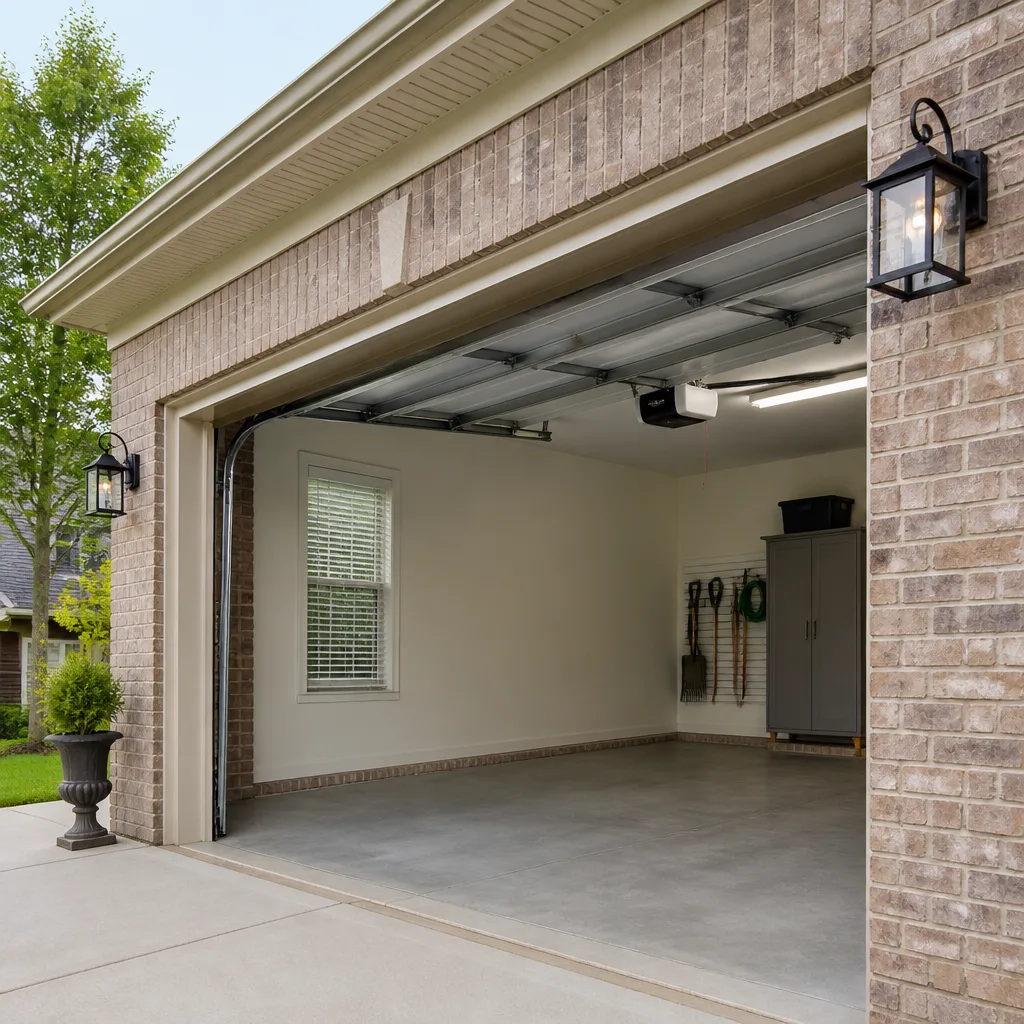 Chamberlain openers
Full 25-point door and opener safety check with every visit - springs, cables, rollers, tracks, and your LiftMaster or Chamberlain opener included
You get a price before we start. It does not change when the pro arrives.
Get your free estimateDIY vs Professional Garage Door: The Chesapeake Homeowner’s Decision Guide
Most garage door advice splits into two useless camps. One says you can fix anything yourself with a screwdriver and a video. The other says every spring, roller, and hinge requires a licensed technician. Neither is honest. The real answer depends on which task you’re doing, and the danger is that homeowners treat the whole garage door as one category. It isn’t. Some tasks are genuinely beginner-friendly and cost you almost nothing in parts. Others store enough energy to injure you seriously in a fraction of a second, no matter how careful you are. This guide draws that line task by task, so a Chesapeake homeowner can decide with clear eyes instead of guesswork. You’ll learn what’s safe to touch, what isn’t, and when a professional call is the cheaper path.
Quick Answer
DIY is appropriate for garage door tasks involving no stored mechanical energy or live wiring: lubricating rollers and hinges, replacing the bottom weatherseal, aligning and cleaning safety sensors, and reprogramming a remote or keypad. Everything that touches torsion springs, extension springs, lift cables, or the door’s balance under tension belongs to a trained technician – the injury risk is real, and a botched attempt usually costs more to correct than a professional repair would have from the start.
Styles & brands we work with
- Raised-panel steel
- Carriage house
- Modern flush
- Full-view glass
- LiftMaster openers
- Chamberlain openers
Table of Contents
- The Task Matrix: What’s DIY and What Isn’t
- Torsion vs Extension Springs: The Risk Difference
- DIY vs Professional in Chesapeake: The Real Cost Math
- Tools and Skill Prerequisites for Legitimate DIY
- Virginia Liability and Your Homeowner’s Insurance
- How to Do the Safe Tasks Well
- Chesapeake Climate and Your Door’s Wear Pattern
- Common Mistakes to Avoid
- When to Call a Professional
- Frequently Asked Questions
The Task Matrix: What’s DIY and What Isn’t
Here is the honest split. The dividing line is stored energy and electrical hazard, not difficulty in the ordinary sense. A task can be fiddly and still safe. A task can look simple and still be the most dangerous thing in your garage.
DIY-appropriate tasks – no dangerous stored energy, no mains wiring:
- Lubricating hinges, rollers, and the torsion bar bearing plates with a proper garage door lubricant, applied sparingly and wiped clean afterward.
- Replacing the bottom weatherseal, which wears against a Chesapeake driveway and keeps rain and pests out.
- Cleaning and aligning safety sensors when the door reverses for no obvious reason. The sensors themselves are low-voltage and simply aim at each other.
- Reprogramming a remote, keypad, or home-link button after a power interruption or a new opener battery. This is a manual-and-patience task, nothing more.
- Tightening loose bolts on the track brackets and hinges, finger-tight plus a quarter turn, never overtightened.
- Visual inspection: watching for frayed cables, worn rollers, and daylight through gaps. Looking costs nothing and catches trouble early.
Professional-only tasks – stored tension or electrical danger:
- Torsion spring replacement or adjustment. The spring above your door is under hundreds of pounds of winding tension.
- Extension spring replacement. Marginally more accessible in how it’s mounted, but still a serious call without training.
- Lift cable replacement. Cables hold the door’s weight and can snap with force when tension releases.
- Track realignment. A bent track can drop a door; straightening it under load is a two-person technician job.
- Panel replacement involving the door’s balance – surprisingly reachable for a single cosmetic panel, but any panel swap that changes door weight needs the balance checked.
- Opener motor or control-board repair and wiring. The opener is connected to mains voltage and should never be opened by a homeowner.
That’s the line. Everything on the first list you can reasonably do. Everything on the second needs a trained hand. The rest of this guide explains the reasoning, the cost math, and the local factors that shape the decision in Chesapeake.
Torsion vs Extension Springs: The Risk Difference
Torsion springs and extension springs both store energy to counterbalance your door, but they fail differently, and that difference matters for a homeowner weighing DIY.
Torsion springs mount horizontally on a bar above the door. They’re wound with metal winding bars, and the stored torque in a wound torsion spring is what lets a 150-pound door rise under hand pressure. When a torsion spring breaks, it fails with a sharp crack and the door becomes dead weight. The reason torsion work is a firm no for DIY isn’t that it’s incomprehensible – it’s that the winding and unwinding process puts the spring’s full stored energy inches from your face and hands. A single slip while holding a winding bar is the failure point. This is why trained technicians treat winding bars with the same care as live electrical lines.
Extension springs run along the sides of the door above the horizontal tracks. They stretch rather than wind, and because they pull in a straight line they’re less likely to be the same kind of stored-energy trap. But this isn’t a pass. Extension springs have their own hazards: a snapped spring can whip toward the door or a person, which is why good practice is to have a safety cable running through the center of the spring. Those cables are one more thing to get right, and a missing or misplaced cable is a common reason a door fails a home inspection.
In our experience, the risk profile of torsion springs is why so many videos on the topic either skip the danger entirely or wrap the whole subject in vague warnings. The truth is more specific: torsion springs are the harder no, extension springs are still a technician call. Both are outside what a homeowner should touch.
If your door is making a loud bang, the door won’t lift, or you can see a visible break in a spring, treat that as a professional call. A trained technician can tell you quickly what failed and what’s safe to do next. If you’re already hearing the symptoms and want to understand what’s involved, read more about garage door repair for the typical diagnostic path.
DIY vs Professional in Chesapeake: The Real Cost Math
Here’s the honest cost comparison. The tasks where DIY wins are cheap in both directions, so the saving is real but small. The tasks where a DIY attempt can go wrong are the ones where the correction costs more than the original professional repair would have. That’s not scare talk; it’s arithmetic.
Typical cost picture for a Chesapeake homeowner:
- Weatherseal replacement: a low-cost part and an hour of your time. DIY wins clearly.
- Lubrication and tightening: a can of garage door lubricant and twenty minutes. DIY wins clearly. Do this once or twice a year and you’ll extend roller life noticeably.
- Safety sensor alignment: free. DIY wins clearly unless the sensor itself has failed, which needs a replacement part.
- Remote reprogramming: free with the manual. DIY wins clearly.
- Spring replacement: a professional call, quoted per job by written estimate before work starts. A DIY attempt that goes wrong risks injury first and damage second; a snapped spring can also bend tracks or twist the door, turning a spring job into a spring-plus-tracks job.
- Cable replacement: same reasoning. A poorly seated cable can slip under load and drop the door.
- Opener motor or board failure: a professional call because of the mains connection. A homeowner who replaces an opener board and gets the wiring wrong can end up with a dead opener or a safety issue.
The pattern: the DIY list is where a mistake is embarrassing. The professional list is where a mistake is expensive or dangerous. In our experience, the “botched repair costs more” scenario is real and predictable. A door with a bent track from a DIY spring attempt may need new tracks and a new balance, and that’s before anyone touches the spring. Whatever the final number, the written estimate sets the price, and you’ll see it before work starts.
For the balance between a modest repair and a replacement, this math does the work: if the door’s structural parts are sound, a repair is the value move. If the door is dented, rotting at the bottom, or the opener is failing alongside the door, a full replacement can be the smarter long-term choice. If you’re weighing that, the garage door opener repair page covers the opener side of that call.
Tools and Skill Prerequisites for Legitimate DIY
We’re not going to gatekeep. But an honest self-assessment saves you a wasted weekend, and it’s the difference between a task you finish and one you leave half-done. Before you start any DIY task on this list, check three things.
Tool check – you should already own, or can borrow:
- A stepladder rated for your weight, stable and on level concrete.
- A socket and wrench set that fits your door’s hardware – most residential doors use standard sizes.
- A garage door lubricant (not WD-40, which is a solvent and degreaser, not a long-term lubricant).
- A flashlight or headlamp.
- Work gloves, especially around metal edges and hinges.
- A second person for anything that involves moving a wide object or reaching above your head for a long stretch.
Skill check – honest questions:
- Can you identify the difference between a torsion spring and an extension spring on your own door? If not, stop and look up your door’s type before touching anything.
- Can you name the parts of the door – track, hinge, roller, bracket, strut, spring – without guessing? A homeowner who knows the nouns can usually manage the safe tasks.
- Are you comfortable closing and opening the door multiple times to test your work, and watching the movement carefully each pass?
- Do you have a plan if a task turns out to be bigger than expected?
If any of those answers are “no,” the task probably isn’t for you, or you need to look at your door’s specific mechanism first. That’s not a judgment – it’s basic risk management. For brand-specific parts and the most common manufacturer, a look at Highpoint Garage Door Service will give you a sense of the systems technicians work on daily, which is useful when you’re trying to identify your own hardware.
Virginia Liability and Your Homeowner’s Insurance
This section is general guidance, not legal advice, but it’s information Chesapeake homeowners rarely think about until after the fact. If a DIY repair is implicated in a subsequent insurance claim – a door that drops and damages a car, a spring that fails and hits something, a person injured by a falling door – your homeowner’s insurance adjuster is going to ask a few specific things.
- When was the last time the door was serviced professionally? A door with a routine professional maintenance record is easier to defend than one that’s only ever been touched by its owner.
- Was the failed part replaced, adjusted, or worked on by you? A DIY replacement, especially of a spring or cable, shifts liability onto the homeowner.
- Do you have documentation of the door’s original installation and any professional service? Records help, and a professional written estimate for repair or replacement is a useful piece of that.
- Did the claim involve a part that requires a trained technician to service safely? If the adjuster identifies a spring or cable in the failure, expect scrutiny.
The practical takeaway: professional service leaves a paper trail. If a claim ever involves your garage door, that record matters. It’s also worth checking your policy’s language on self-performed work; a quick call to your insurance agent to confirm how your policy handles damage from a DIY repair is a ten-minute task that could save you headaches later. Keep any receipts for parts you install yourself.
Separately, some garage doors and their openers may fall under local code requirements – an opener with a reversing function is standard safety equipment, and you should confirm with your city’s building department before changing anything structural. The City of Chesapeake’s building department is the right place to ask. We don’t state code specifics here because they can change and vary by jurisdiction; a call to the city is always the final word.
How to Do the Safe Tasks Well
If your door is on the DIY list, here’s how to do those tasks as a methodical homeowner would. The goal is a job that’s done right, not a job that’s done fast.
Lubrication – a twice-a-year job:
- Close the door and turn off the opener at the wall control or unplug it, so the door can’t move while you work.
- Apply garage door lubricant to the hinge pivots, the roller stems, and the bearing plates at the torsion bar. Small applications, wiped clean after.
- Don’t lubricate the tracks themselves. Dirt and grit stick to grease in the tracks and accelerate wear on the rollers.
- Run the door up and down a few times to distribute the lubricant, watching for uneven movement.
Weatherseal replacement:
- Check the bottom seal for cracks, flattening, or daylight gaps along the floor – Chesapeake’s wet winters and hot summers both wear the seal.
- Measure the door width before buying the seal. A too-short seal leaves a gap and a too-long one bunches.
- Remove the old seal by pulling it out of the groove or loosening the retainer, depending on the style.
- Feed the new seal into the groove evenly and check the seal against the floor when the door closes.
Sensor alignment:
- With the door open and the opener powered, look at both sensor lights. Both should be steady; a blinking light indicates a misalignment or blockage.
- Wipe the lenses clean and check for cobwebs or debris in front of the sensors.
- If a light is out or blinking after cleaning, check the mounting bracket to see if it’s been knocked out of line, and adjust it slightly to re-aim the sensor.
- Test by closing the door and placing an object in its path – the door should reverse immediately.
If any step reveals metal wear, frayed cables, or a visibly broken spring, stop. You’ve reached the line. That’s a professional call, not a bigger home project.
Chesapeake Climate and Your Door’s Wear Pattern
Chesapeake sees a wide swing between humid summers and cold, wet winters. Both ends of that swing put strain on a garage door, and understanding the cycle tells you when DIY upkeep pays off.
- Summer humidity softens and dulls the rubber weatherseal and can cause wooden components to swell. The seal is worth checking each spring, and it’s a cheap DIY fix.
- Winter cold stiffens the lubricant and the springs. A door that bound up in January may simply need fresh, cold-tolerant lubricant on the hinges and rollers.
- Rain and runoff at the door’s bottom edge accelerate weatherseal wear. If you park on a sloped driveway in Chesapeake, water pools against the seal more and it wears faster.
- Temperature cycling loosens bolts over time. An annual tightening pass is one of the highest-value DIY things you can do.
The practical rhythm: seal check late winter, lubrication in spring and fall, sensor check anytime the door misbehaves. A methodical homeowner who does those three tasks keeps the door’s safe parts in good shape for years. The load-bearing parts – springs, cables, tracks – are where the professional line holds.
Chesapeake’s neighborhoods each bring their own patterns – a door facing a west-facing lot in Great Bridge takes more afternoon sun and heat than one shaded in Greenbrier, and the weatherseal and opener in each will age differently. If you’re new to the area or unsure what your specific door needs, the local context on Chesapeake is a useful place to start.
Common Mistakes to Avoid
- Treating the whole garage door as one category. Some tasks are homeowner-friendly and some are dangerous. The mistake is applying a general “I can fix it” attitude to a spring job.
- Using WD-40 on hinges and rollers. It’s a solvent and displaces lubricant rather than providing one. Use a purpose-made garage door lubricant and the rollers will last much longer.
- Greasing the tracks. It seems helpful but attracts grit and accelerates wear. Keep the tracks clean and dry, not greasy.
- Skipping the safety-pull test. Once a year, pull the manual release with the door about waist-high and check that it stays put. A door that drops needs a balance check by a technician.
- Ignoring a small dent in a panel that holds weight. Cosmetic dents are fine to leave alone. Dents near the bottom where the spring does its work can affect balance, so a technician should look before you decide it’s only cosmetic.
- Replacing a spring yourself to save a call. This is the most common DIY mistake on this list, and it’s the one most likely to turn a repair into an injury or a bigger job.
- Forgetting to turn power off before touching the opener. Opening the opener’s housing is a professional job, and any DIY work on the door itself should be done with the operator disconnected.
When to Call a Professional
Call a professional when the task involves stored mechanical energy (springs and cables), the door’s balance or track alignment, or the opener’s motor and wiring. Those are the situations where the risk of injury or a costly correction outweighs any DIY savings. Beyond that, call us if the door has stopped moving evenly, makes a loud bang, hangs at an angle, reverses for no reason after sensor checks, or you simply can’t identify what’s wrong. For a door you can’t fully close – especially in colder weather – that’s also a professional call, since leaving it open holds in less heat and leaves a security gap. Highpoint Garage Door Service offers free estimates in Chesapeake. Call (877) 309-4107 – we answer 24/7, with fast dispatch from 7am to 7pm, Sunday through Friday.
Frequently Asked Questions
No – spring replacement is the one task on this list that we’d firmly call professional. Both torsion and extension springs store energy that can cause a serious injury in a fraction of a second, and the winding process is the most dangerous part. Call (877) 309-4107 for a quote; the estimate is free and the price is set by the written estimate before any work starts.
If the task involves anything under stored tension or mains wiring, it’s a professional call. Lubrication, weatherseal replacement, sensor alignment, remote reprogramming, and hinge tightening are the DIY-appropriate tasks. A quick rule: if you’d be touching a spring, cable, or the opener’s internals, stop and call a technician.
The written estimate sets the exact price, and it’s quoted before work starts. Typical costs vary with the job – a sensor or weatherseal job is on the low end, a spring or cable repair higher, and a full replacement higher still. Call (877) 309-4107 for a free estimate; we’ll give you a clear number to compare against your DIY math.
Yes – our technicians are state-licensed and insured and bonded, and they have up to 15 years of experience working on the major brands including Genie, Clopay, Amarr, and Wayne Dalton. They’re trained on both mechanical door systems and openers, so a problem that turns out to be the opener rather than the door doesn’t need a second company. Call (877) 309-4107 for a free estimate.
It can if the DIY work is later implicated in a claim. If a spring, cable, or other safety-critical part you replaced fails and causes damage, the adjuster will want to know who did the work, and the liability can shift to the homeowner. Keep receipts and a record of professional service. Call (877) 309-4107 to get a professional repair on record if you’re unsure.
Yes, same-day service is available for repair calls, and we dispatch our technicians fast between 7am and 7pm, Sunday through Friday. A call outside dispatch hours is booked into the next opening. Call (877) 309-4107 – we answer 24/7 and can tell you when a technician can be there.
The Bottom Line
The DIY vs professional question isn’t philosophical – it’s task-specific. The DIY list is real: weatherseal, lubrication, sensor alignment, remote programming, and tightening hinge bolts are things a methodical Chesapeake homeowner can do safely and cheaply. The professional list is real too: springs, cables, track alignment, and opener wiring are where trained hands matter, because the injury risk and the correction cost both jump. Use the task matrix as your guide, respect the spring-and-cable line, and keep a professional service record for your insurance file. The goal isn’t to never call a professional – it’s to know when a call is the smarter move.
If you’re not sure which list your door’s problem falls on, that’s a good time to call. Highpoint Garage Door Service is a dedicated garage door specialist, not a general handyman – we work on the mechanical door system and the electronic opener across whatever brand you have, from Genie and Chamberlain to Clopay, Amarr, Wayne Dalton, and more. From a quick repair to a full replacement, we handle the whole lifecycle. Call (877) 309-4107 for a free estimate. We answer 24/7, with fast dispatch from 7am to 7pm, Sunday through Friday.
Written by the team at Highpoint Garage Door Service.
See the difference
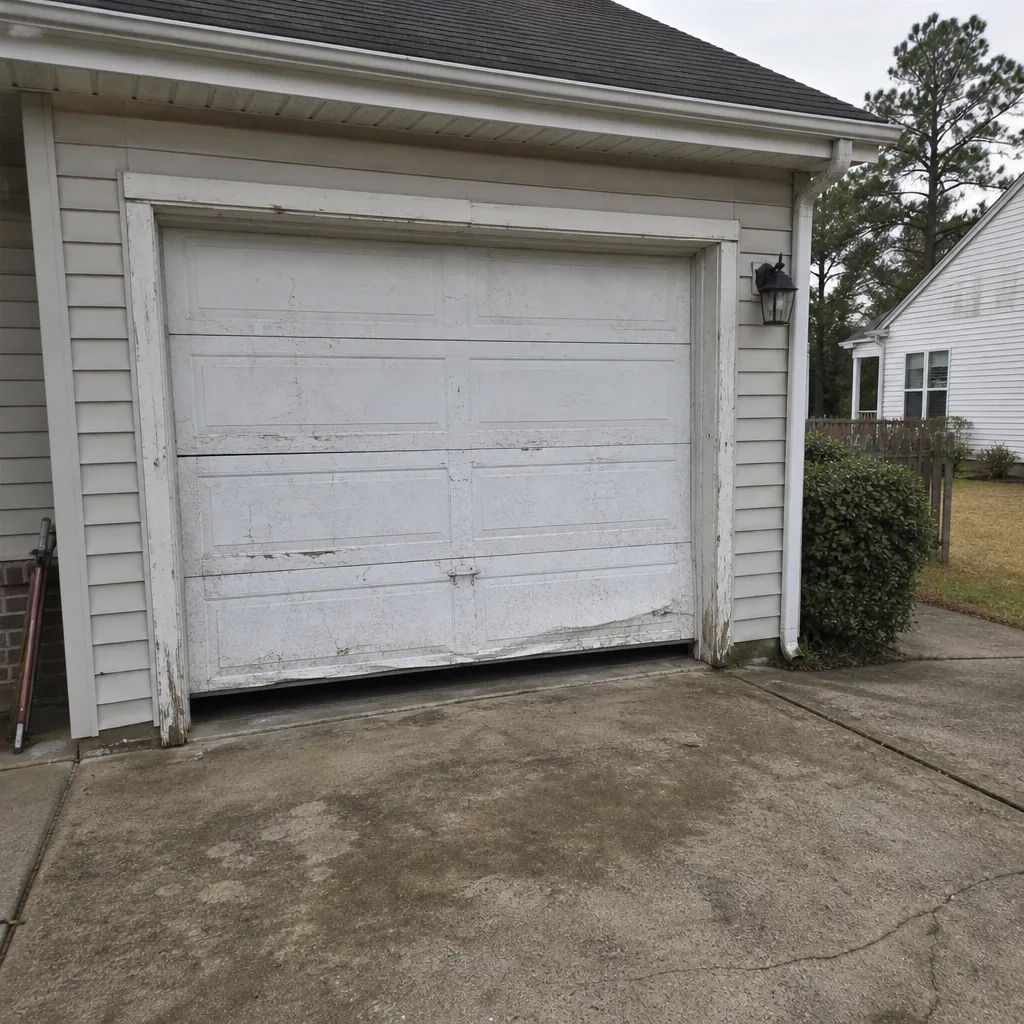 Before
 After
 Before
 After
 Before
 After